Copy WooCommerce products to another store: what carries over
A copy between two WooCommerce stores, checked field by field: what the import brought over, what to finish by hand, and the checks to run afterwards.
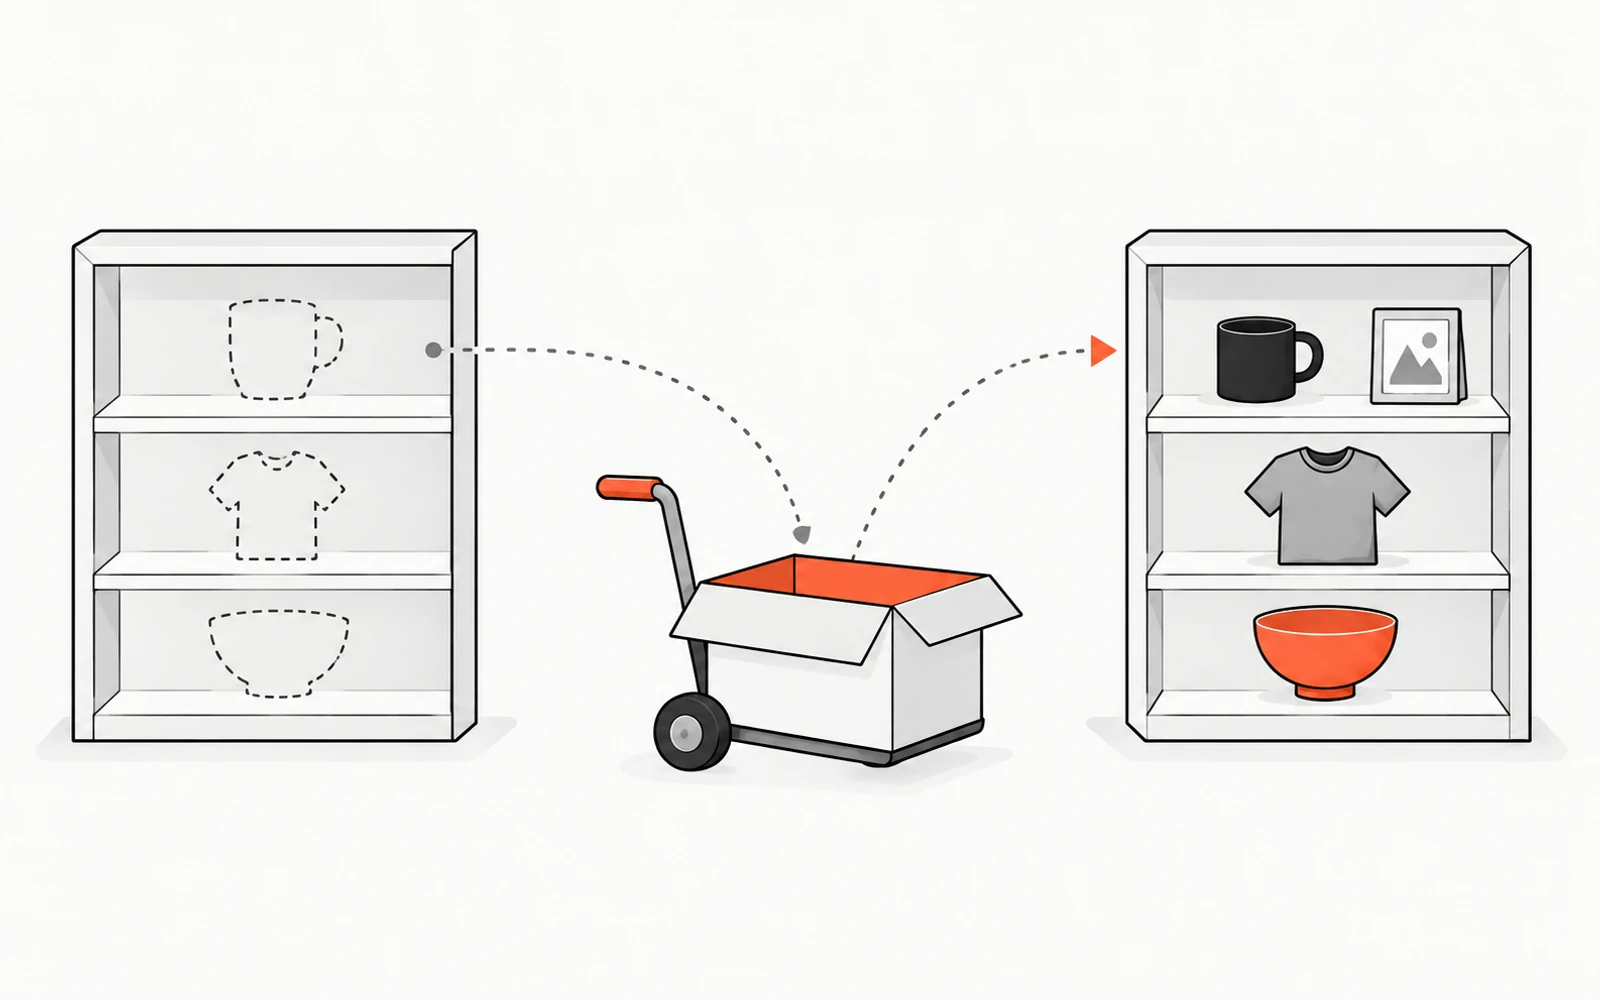
You have a catalog in one WooCommerce store and you need it in another. It may be a new store for a second brand, a rebuild on a fresh install, or a client's store you are taking over. You do not want to recreate every product page by hand, and you want to know what the new store will look like once the copy is done.
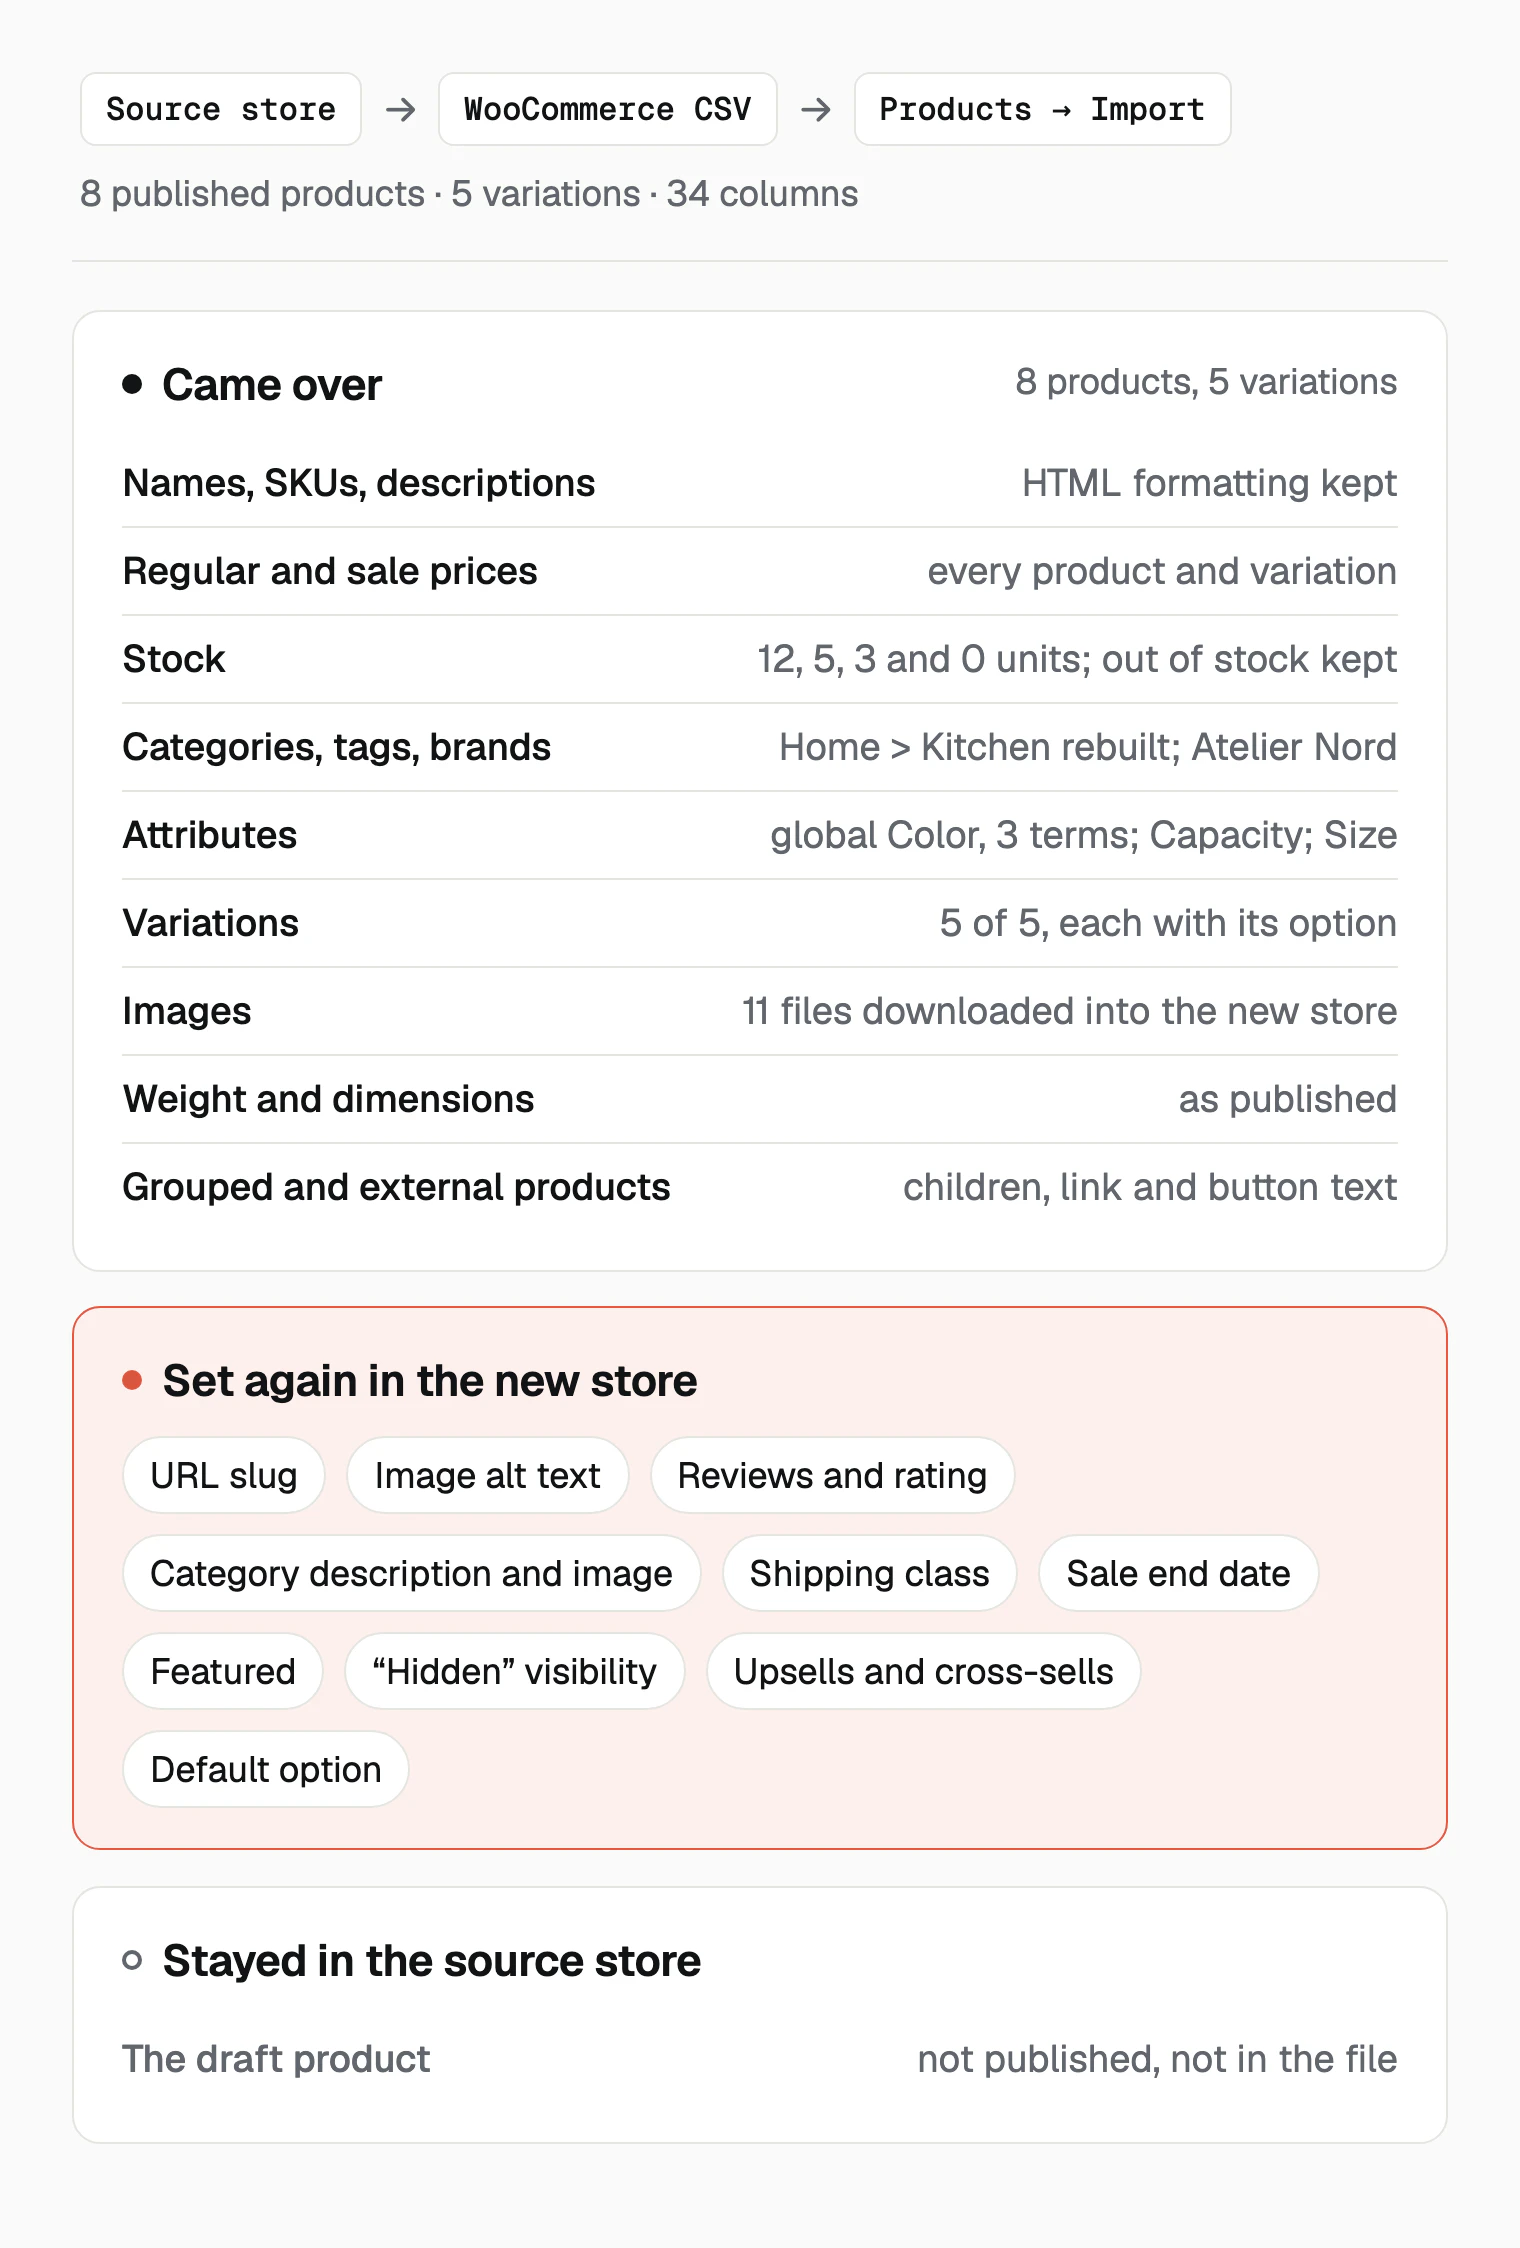
WooCommerce has the receiving end built in. Its import screen, under Products → All Products → Import, turns a WooCommerce CSV into products. The file comes from the source store, through its built-in exporter if you can sign in there, or through ScrapeWoo from the store's address alone. We copied a test store with ScrapeWoo's file. Its 8 published products, 5 variations and 11 images arrived in a single run, with every column mapped automatically. Ten details are yours to set in the new store, each listed below with where to do it. Run the import while the source store is online, because the new store downloads the images from it.
How this was checked
October 15, 2026. Two stores on WooCommerce 11.2.1 and WordPress 7.1.3, with the Twenty Twenty-Five theme and no other extension, once in English and once in French. The source held nine products, five variations, twelve images and two reviews. ScrapeWoo's WooCommerce CSV was generated from its public catalog with the current exporter. The file went into an empty store through the Products → Import screen, with the column mapping it preselects. We then read both stores product by product.
The store we copied
The source catalog was built to hold what a real store holds, and a few things a copy can lose:
- a linen apron on sale, with 12 units in stock, a weight, dimensions, two images with alt text, two categories, two tags and a custom address,
natural-linen-apron. It was also featured, carried a brand and a shipping class, pointed to the tea towel as an upsell, and had two approved reviews; - a stoneware mug in three colors, with Color as a global attribute and a descriptive Capacity attribute, and a canvas tote in two sizes;
- a wool throw on sale until October 25, a tea towel out of stock and a gift wrap hidden from the shop pages;
- an external product that links to the grower's site, a grouped product made of the apron and the tea towel, and one draft.
Categories formed a small tree, Home > Kitchen, and the Textiles category had its own description and image.
Step 1: get the file from the source store
Two kinds of file work, because the destination reads WooCommerce's CSV format either way. If you can sign in to the source store, its built-in exporter writes one. The guide on exporting WooCommerce products sets that route beside the others. If the store is not yours to sign in to, or you would rather not ask, start from its address.
ScrapeWoo works from the address alone. You paste it, review the products the store publishes, keep the ones you want and choose WooCommerce CSV. No login to the store and no API key are needed.
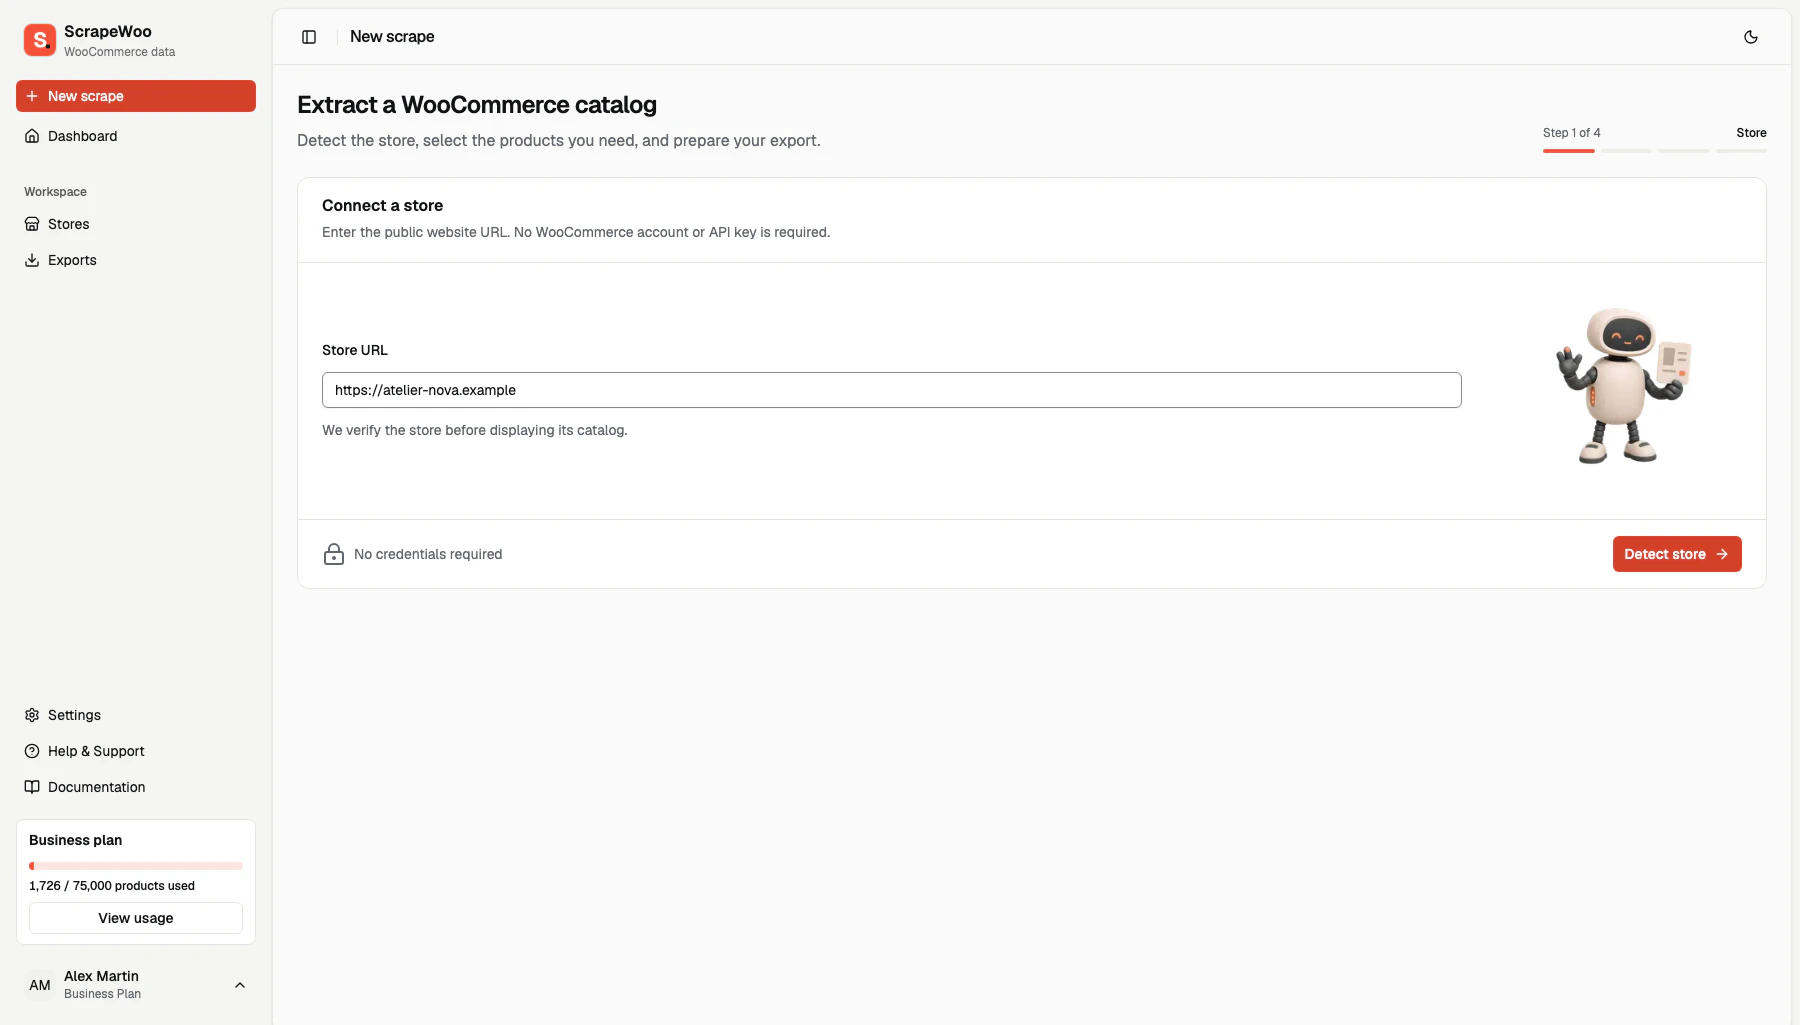
From our source, ScrapeWoo read the 8 published products and their 5 variations. The file had 34 columns and 13 rows, one per product and one per variation, in UTF-8. In it:
- each variation row follows its parent and names the parent's SKU in
Parent; - categories are written as paths,
Home > Kitchen, so the import rebuilds the tree; - Color carries
1inAttribute 1 global, and the tote's Size carries0, as the source had them; - the
Imagescells hold the addresses of the images on the source store; - the kitchen set names its two products by SKU in
Grouped products; - the seed kit carries its link and its button text in
External URLandButton text; - the apron's brand, Atelier Nord, is in
brand_ids.
The draft was not in the file. A draft is not published, and the file holds the published catalog.
Step 2: import it into the new store
In the new store, go to Products → All Products and select Import. Choose the file, leave "Update existing products" unticked for a first copy, and continue. WooCommerce's importer documentation describes the screen.
The next screen, Column mapping, pairs each column of the file with a product field. On our run it paired all 34, and none was left on "Do not import". Here are the pairs that need a second look:
| Column in the file | Field WooCommerce chose | Why it matters |
|---|---|---|
Weight, Length |
Weight (lbs), Length (in) | The figure is read in the new store's unit. Set both stores to the same units first. |
Categories |
Categories | Missing categories are created, with the tree. |
Images |
Images | Each address is downloaded during the import. |
Parent |
Parent | Ties each variation to its product by SKU. |
Grouped products |
Grouped products | Finds each product of the group by SKU, in the file or already in the store. |
Attribute 1 global |
Is a global attribute? | Recreates Color as a store-wide attribute. |
Keep the mapping as it is and run the importer. Ours ended on "Import complete! 8 products imported. 5 variations imported." No row was skipped and none failed.
What arrived in the new store
We read the new store field by field and set it beside the source. Every product came through as the type it was, with these results:
| Data | In the new store |
|---|---|
| Products and variations | 8 products and 5 variations: 4 simple, 2 variable, 1 external, 1 grouped |
| Names, SKUs, descriptions | Identical. The apron's bold text and bulleted list kept their formatting. |
| Prices | Regular and sale prices identical on every product and variation: the apron at 29.00 instead of 34.00, the slate mug at 15.00 |
| Stock | 12 units on the apron, 5, 3 and 0 on the mug's colors; the tea towel and the moss mug out of stock |
| Categories and tags | Home > Kitchen, Textiles and Garden created, each product in the same categories; both tags created |
| Attributes | Color created as a global attribute with Moss, Sand and Slate. Capacity stayed descriptive. Size stayed an attribute of the tote alone. |
| Variations | 5 of 5, each with its color or size, its price and its stock |
| Images | 11 files downloaded into the new store's media library, under the same names, including the gallery image and the two variation images |
| Weight and dimensions | 0.3 and 70 × 85 × 1 on the apron, as in the source |
| Brands | Atelier Nord created and set on the apron |
| Grouped product | The kitchen set holds the apron and the tea towel |
| External product | The seed kit links to https://grower.example/seed-kit, with its button text "Buy from the grower" |
The images are copies. Each one now lives at the new store's address, so the new store no longer depends on the old one for its pictures once the import is done.
What to set again by hand
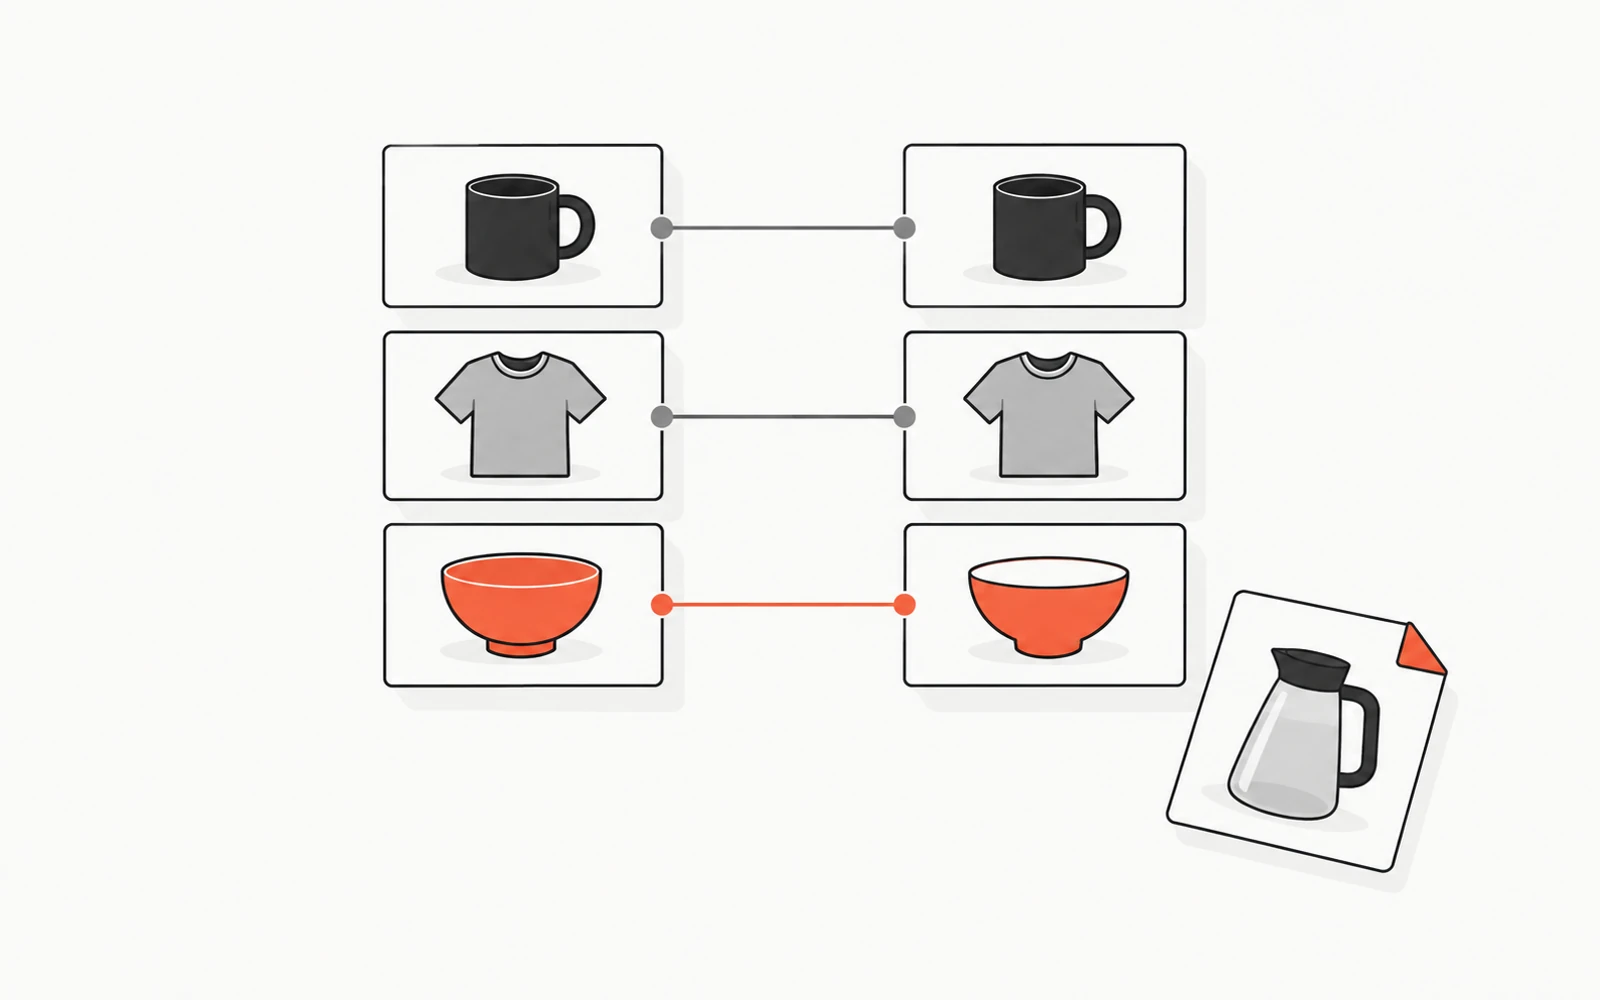
Besides the draft, ten details were in the source and not in the new store. Four of them have no place in a WooCommerce CSV at all. The mapping screen offers no field for a product's slug, an image's alt text, a category's description or image, or a review. WooCommerce's documentation says it plainly for alt text: "The core CSV importer cannot add, edit, or update alt text for product images."
On our copy, that gave these results:
- The apron's address changed. The new store built its slug from the name,
linen-apron, and/product/natural-linen-apron/returned a 404 there. - Every image arrived with an empty alt text. "Linen apron, front view" stayed in the source.
- The Textiles category was created with its name only, without its description or its image.
- The apron arrived with no reviews and a rating of 0, where the source showed 4.50 from two reviews.
The other six are product settings. WooCommerce's importer reads a column for each of them. The source store's built-in exporter writes most of them, so a dashboard login on the source brings them along. With a ScrapeWoo file, set them in the new store. Each row says where:
| Setting | In our test | Where to set it |
|---|---|---|
| Sale end date | The throw arrived at 69.00 with no end date, so the sale would never stop | General tab, Schedule, next to the sale price |
| Featured | The apron arrived not featured | Catalog visibility, in the Publish box: "This is a featured product" |
| Hidden from the shop | The gift wrap arrived visible in the shop | Catalog visibility, in the Publish box |
| Shipping class | The apron had none | Shipping tab |
| Upsells and cross-sells | The apron no longer pointed to the tea towel | Linked Products tab |
| Default option | The mug no longer preselected Sand | Variations tab of the product |
If the old store's pages are indexed by search engines and the new store replaces it, the slugs matter most. Either give each product its old slug back, or redirect the old addresses to the new ones.
Keep the source store online until the import is done
The new store downloads every image from the address in the file, during the import. WooCommerce's documentation says images "need to be pre-uploaded or available online to import to your store."
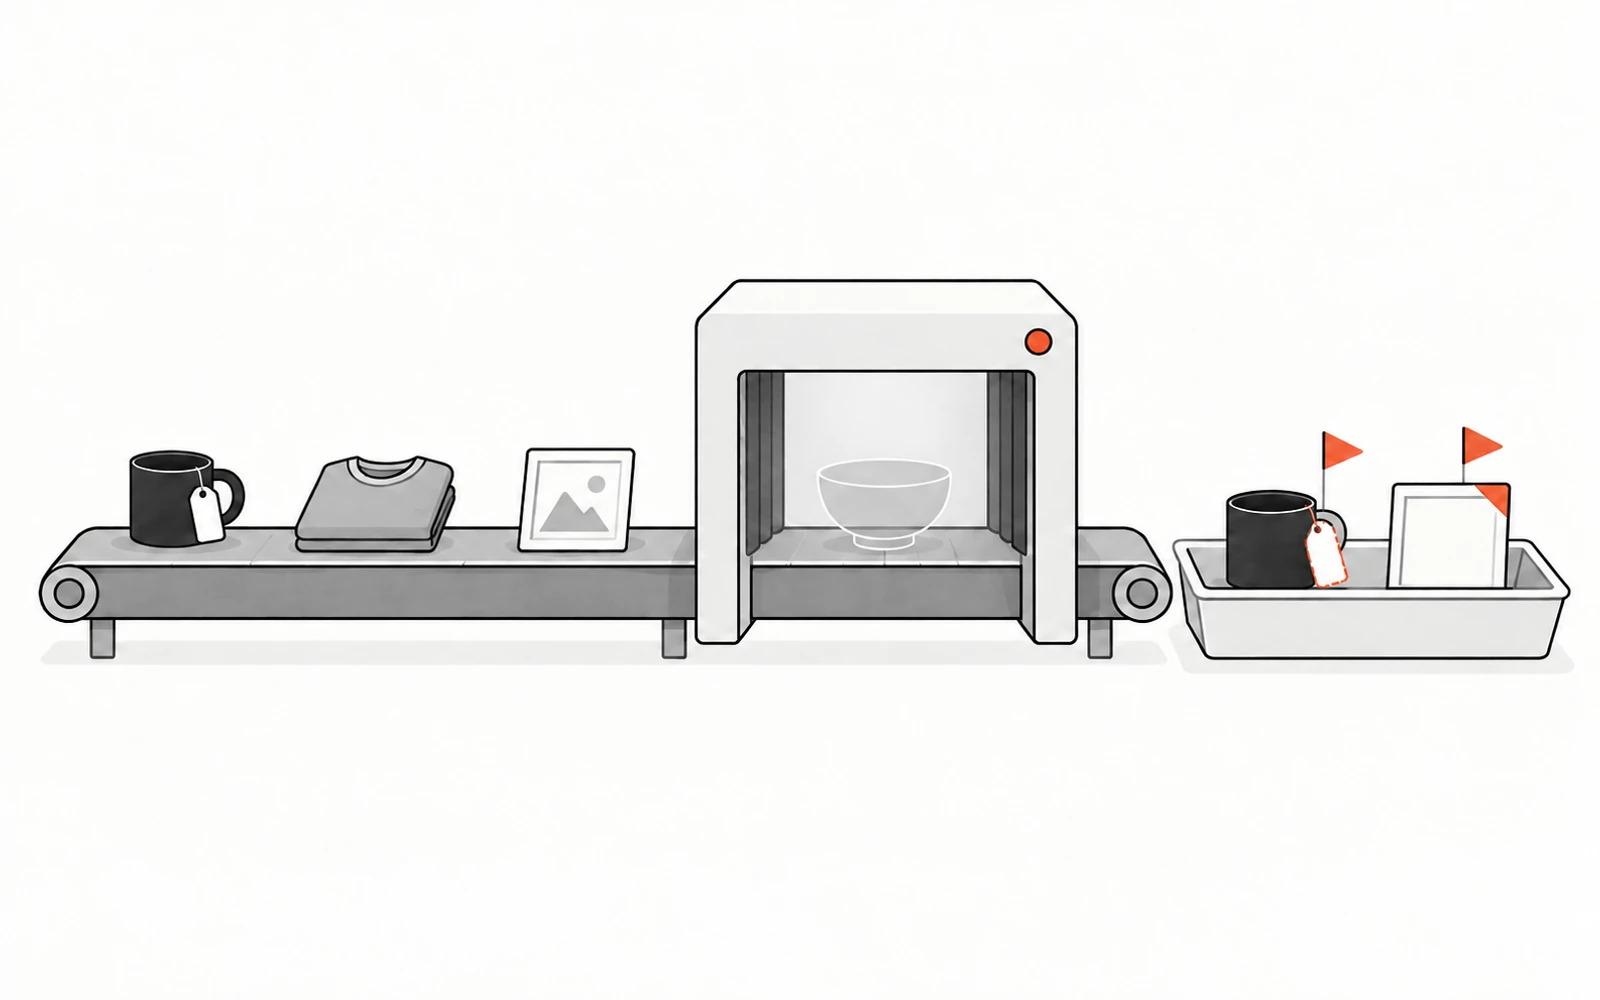
We emptied the new store, stopped the source, and imported the same file again. The screen answered "Import complete! 3 variations imported. Failed to import 10 products." The log gave the same reason for each failed row: "Error getting remote image", followed by the image's address and a connection error.
A row whose image cannot be downloaded is not imported at all. The three variations counted as imported were the ones with no image of their own. Their products had failed, and afterwards the store held no product and no variation.
So run the import while the old store still answers at its address. If the copy is part of a move to a new domain, import first, check the result, then switch the domain.
Checks after the import
The summary screen counts rows, not what the store kept. Check the store itself, in this order:
- Count the products in Products → All Products, and the variations on each variable product. Compare them with the source.
- Open one variable product and pick each option on its page. Each one should lead to a variation with a price.
- Open the media library. The images should be there, at the new store's address. Add the alt texts.
- Compare a few product addresses between the two stores, and decide on slugs or redirects.
- Go through the settings in the table above, starting with sales that have an end date.
- Set the category descriptions and images under Products → Categories.
If you correct the file rather than the store, import it again with "Update existing products" ticked. WooCommerce then matches rows by SKU, and every row of a ScrapeWoo file carries one. The guide on importing variable products from a CSV shows what that update run does to variations.
To start a copy from any WooCommerce store's address, paste it into ScrapeWoo. You see the products the store publishes before you export anything, and the WooCommerce CSV goes straight into the new store's import screen.