How to export WooCommerce products: 3 methods compared
The built-in exporter, the REST API and the public catalog, run on the same WooCommerce 11.2 store: what each one needs and what each one returned.
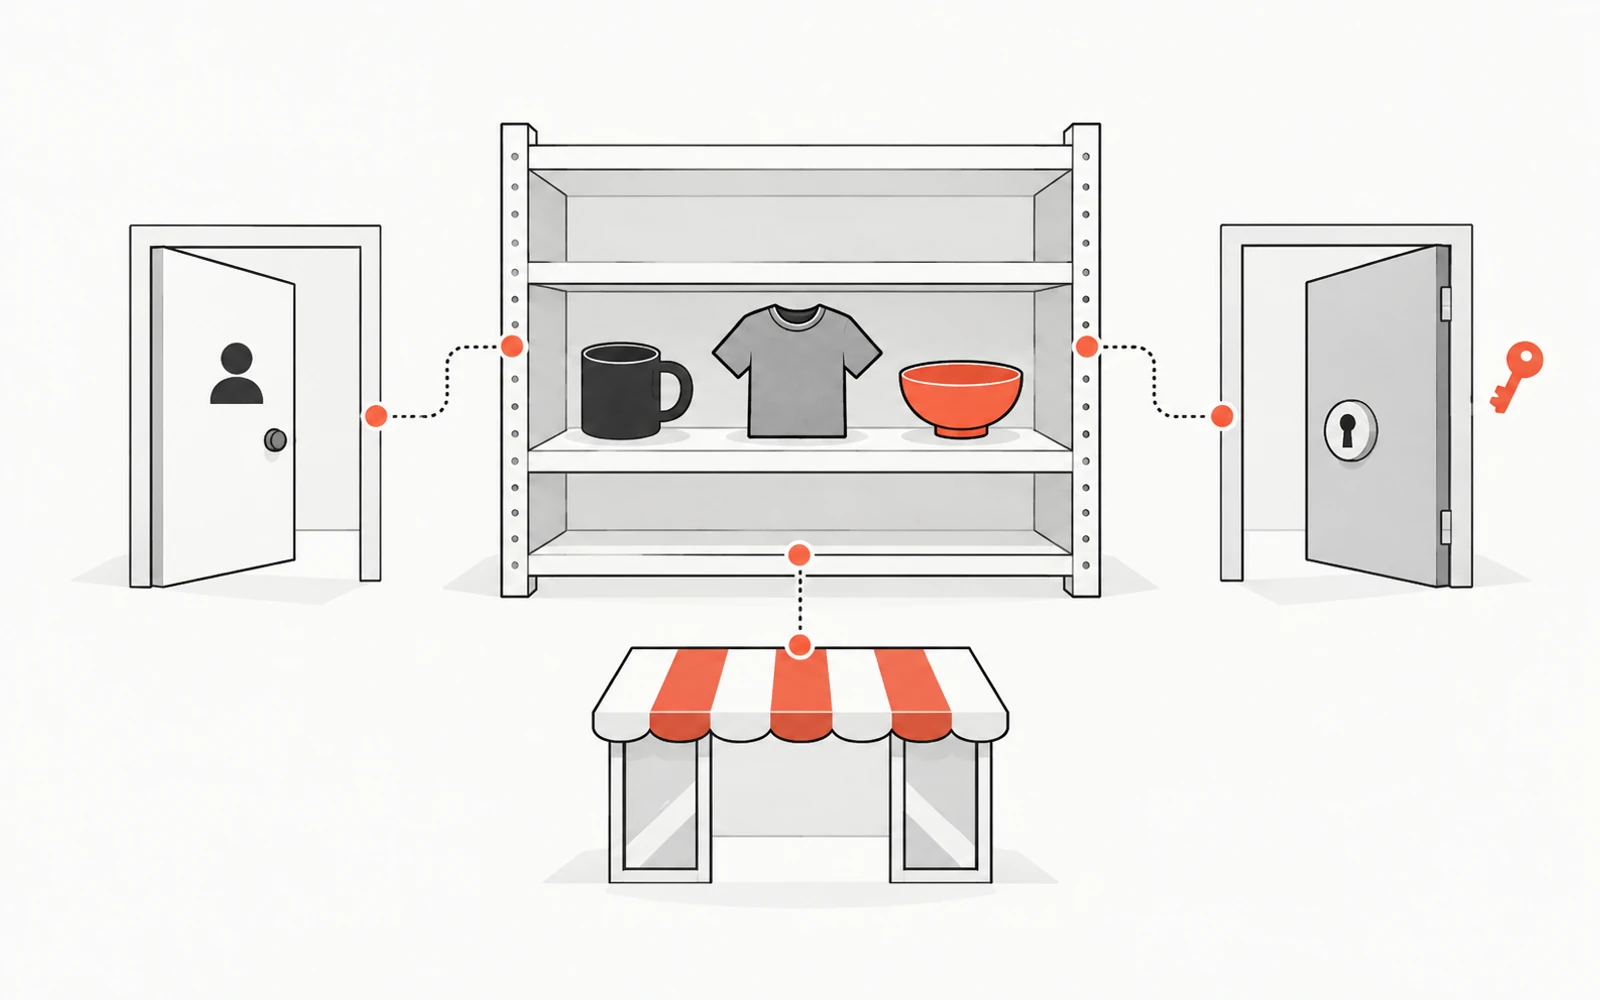
Exporting the products of a WooCommerce store sounds like one button and one file. The right method depends on what you hold: a dashboard login, API keys, or only the store's address.
We exported one small store three ways on the same day. The built-in exporter returned its 7 products and 6 variations. So did the REST API. The public catalog, the one any visitor's browser can read, returned the 5 published products and the same 6 variations. The two it left out were a draft and a private product, which no visitor sees either. Those two products, and a handful of back-office fields such as cost and purchase notes, are what separates the three methods.
The access you hold decides which method is open to you:
- If you can sign in to the store's dashboard, use WooCommerce's built-in exporter, under Products → All Products → Export. It gives you the complete copy, in WooCommerce's CSV format.
- If you hold API keys, or someone can create a pair for you, use the REST API. It returns the full catalog with its back-office fields, as JSON for a program to read.
- If you have only the store's address, or need the file in another platform's format, use ScrapeWoo. It reads the published catalog and writes a WooCommerce CSV, a Shopify CSV, a standard CSV or JSON.
The store we exported three ways
The catalog was built so that the three routes would disagree. It held a rain jacket in four variations, one on sale and one out of stock, a beanie in two variations and a tote bag. The enamel mug had a stock of 12, a purchase cost, a purchase note and a custom field for its supplier reference. There was also a gift-wrap add-on hidden from the shop pages, a private product and a draft.
How we tested
WooCommerce 11.2.1 on WordPress 7.1.3, no extension, one store in English and one in French, signed in as the administrator. The exporter ran with its default options, then with custom meta included. The REST API was read with a read-only key. ScrapeWoo's four export files were generated from the store's public catalog. WooCommerce's Cost of Goods Sold feature, off on a fresh install, was switched on.
| Route | What you need | Products returned | What you get |
|---|---|---|---|
| Built-in exporter | A dashboard login | 7 of 7, with 6 variations | One CSV of 54 columns and 13 rows |
| REST API | A key pair with Read permission | 7 of 7, with 6 variations | JSON over 3 requests: 72 fields per product, 47 per variation |
| Public catalog, with ScrapeWoo | The store's address | The 5 published products, with 6 variations | A WooCommerce CSV, a Shopify CSV, a standard CSV or JSON |
With a dashboard login: WooCommerce's built-in exporter
Go to Products → All Products and select Export. The Export Products screen asks which columns, which product types and which category to export, and whether to include custom meta. Left as it is, it exports every column, every product type and every category. Generate CSV then downloads a single file. WooCommerce describes the screen in its Product CSV Importer and Exporter guide.
Our file had 54 columns and 13 rows, one per product and one per variation. Nothing in the store was left out. The draft was there with -1 in the Published column, the private product with 0, and the gift wrap with hidden under Visibility in catalog. The mug's row held its stock of 12, its low stock amount, its purchase note and its cost. That last column, Cost of goods, exists once the Cost of Goods Sold feature is on.
Custom fields need the checkbox. With "Yes, export all custom meta" checked, the file gained a 55th column, Meta: supplier_ref, holding the mug's supplier reference. Without it, that value stays in the store.
Three details count once the file leaves the dashboard:
- The header row follows the language of the dashboard. On our French store the same export was headed
UGS,Nom,PubliéandTarif régulierwhere the English one saysSKU,Name,PublishedandRegular price. Check which names the next tool expects. - Each row keeps its product ID, and each variation names its parent's SKU in
Parent. According to the same guide, WooCommerce's importer matches rows by ID or SKU when it updates existing products. We imported the export back into the same store through Products → Import, with "Update existing products" checked and the column mapping the screen preselects. The run ended on "Import complete! 13 products updated." and no row was skipped. That makes this the file to edit in a spreadsheet and import back into the same store. - Image cells hold the addresses of the files in the store's media library, not the files themselves.
The exporter writes one format, WooCommerce's CSV. If the store is yours and the products are staying in WooCommerce, this is the export to start with. For Shopify or for a script, it is a source to convert.
With API keys: the REST API
The REST API is the entrance WooCommerce gives to programs. An administrator creates a key pair under WooCommerce → Settings → Advanced → REST API keys, chooses a permission (Read, Write or Read/Write) and passes the pair on. The secret is displayed once; the screen says so when it generates the key. An export only reads, so ask for Read. The REST API documentation covers the setup.
Without a key, our request for the product list was refused with "Sorry, you cannot list resources." With a read-only key it returned all 7 products, draft and private included, each with 72 fields. Besides what the CSV holds, every product came with its creation date, its sales count and its custom fields, with no box to check.
Variations take a second step. The product list, at /wp-json/wc/v3/products, returns a variable product with the IDs of its variations. The variations themselves are served at /wp-json/wc/v3/products/<id>/variations, one request per parent. Our catalog took three requests: one for the products, one for the jacket's four variations and one for the beanie's two. The WooCommerce REST API reference gives 10 products per page as the default, and basic authentication with the key pair when the store is served over HTTPS.
We also tried to create a product with the read-only key. The store refused: "The API key provided does not have write permissions." A Read key is enough for an export and cannot change the catalog.
What comes back is JSON, not a file an importer or a spreadsheet opens as a product table. Someone has to write the program that walks the pages, attaches each variation to its parent and writes the columns the destination expects. For a recurring sync or an integration, that program is the right investment. For a single export, it is more work than either of the other two routes.
With the store's address only: ScrapeWoo
ScrapeWoo exports a catalog from the store's address. You paste it, review the products it detects, keep the ones you want and choose the file: WooCommerce CSV, Shopify CSV, standard CSV or JSON. It asks for no login to the store and no API key.
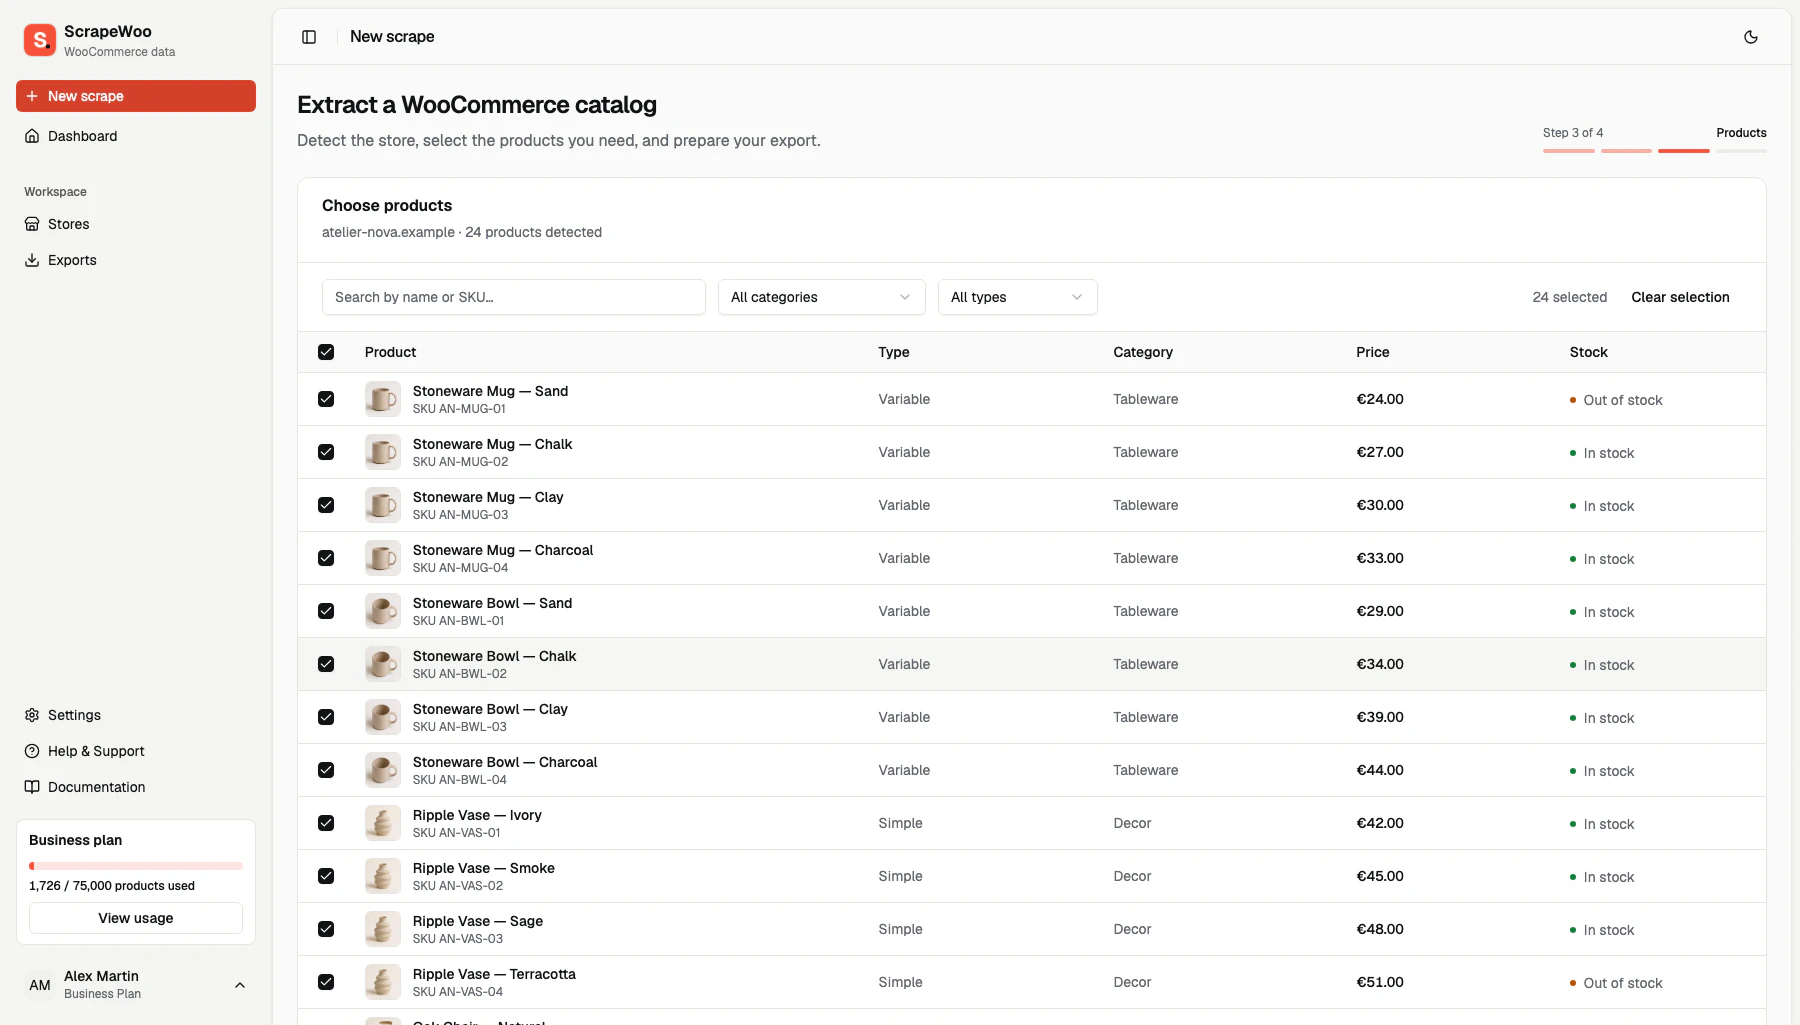
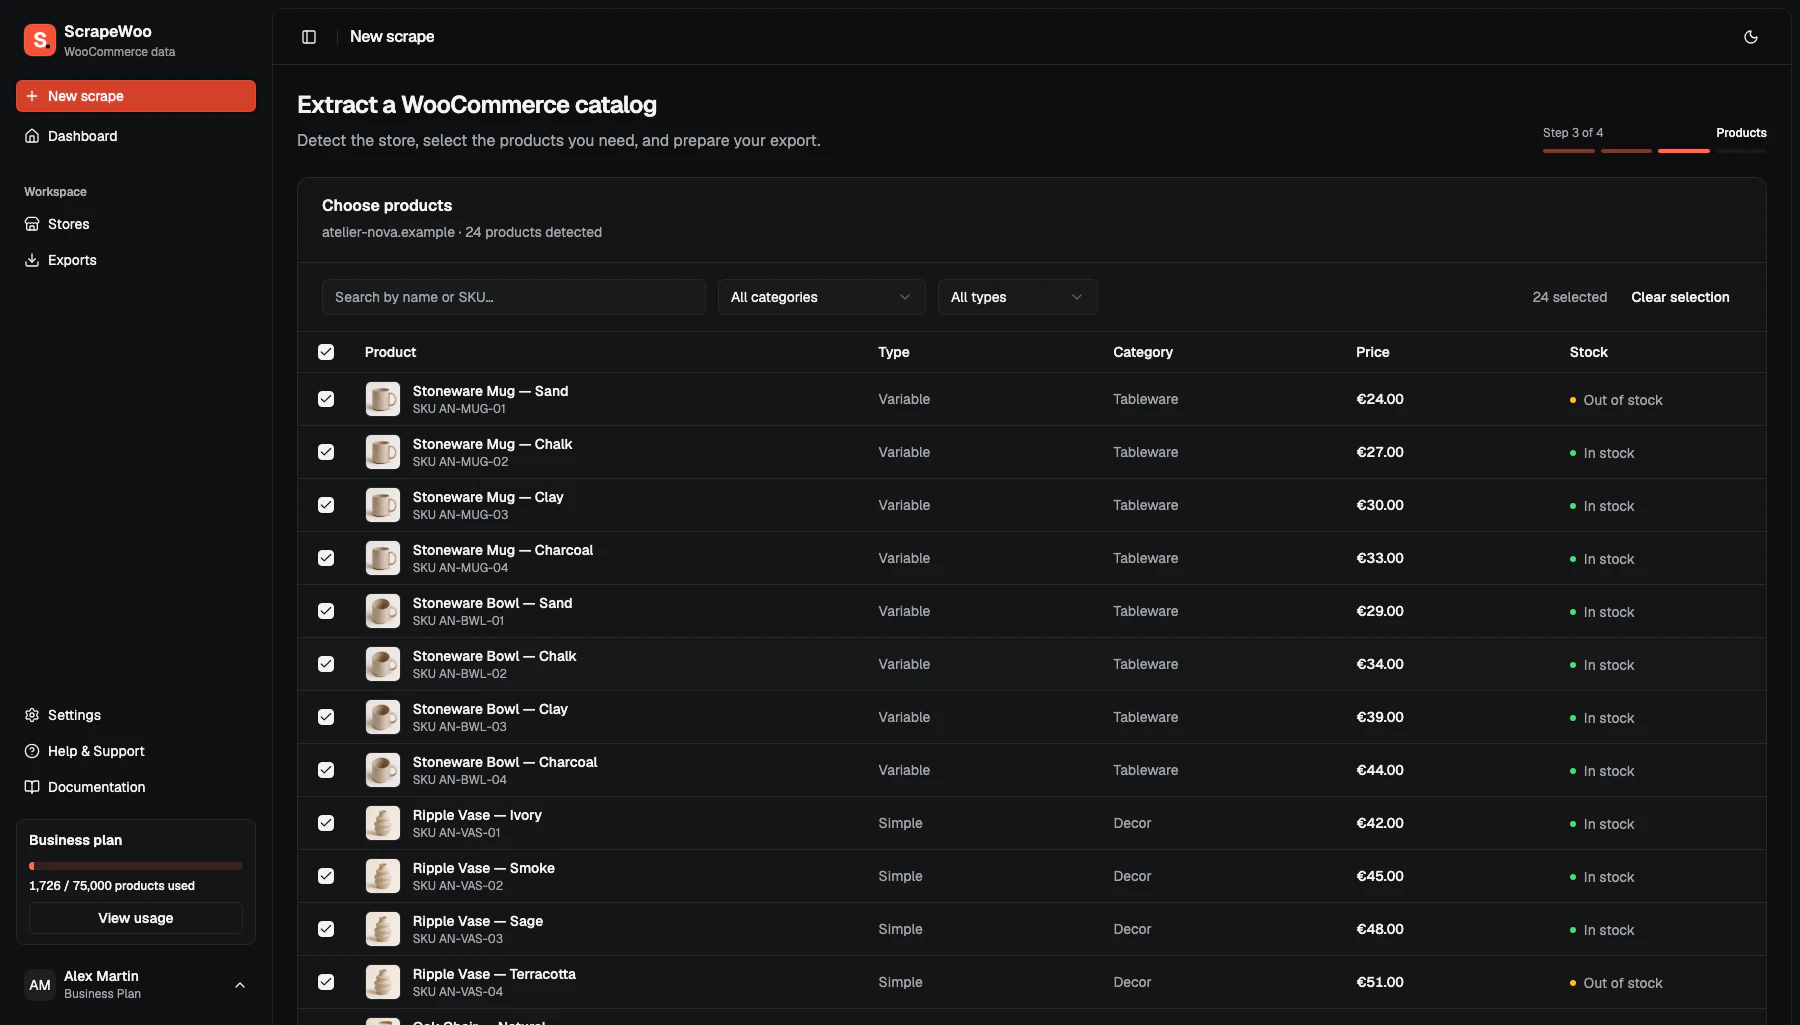
This is possible because a WooCommerce store, by default, publishes its catalog twice: as pages for people, and as data for its own storefront. WooCommerce documents the second form, the Store API, as an unauthenticated interface that needs no API key and gives no access to sensitive store data. The Store API products endpoint serves public product data so that product lists can be rendered in the shopper's browser.
From our store, ScrapeWoo read the 5 published products with their 6 variations and wrote these files:
| Export | What the file contained |
|---|---|
| WooCommerce CSV | 38 columns and 11 rows: each product, followed by its variations with the parent's SKU in Parent |
| Shopify CSV | 34 columns and 10 rows: the jacket's four variants under one handle, the name Shopify uses to group a product's rows, the discounted one with a price of 99.00 and a compare-at price of 129.00 |
| Standard CSV | 27 columns and 11 rows, with the currency and each product's public address |
| JSON | 5 products, their 6 variants nested inside them |
Each variation kept what a destination needs: its own SKU, its regular price, the sale price on the discounted one, and its stock. Names, descriptions, categories, tags, image addresses and the jacket's attributes came through as well.
We set ScrapeWoo's WooCommerce CSV beside the built-in export. On the 11 rows the two files have in common, stock status, stock quantity, weight and image addresses are identical. The quantities: 4, 7, 3 and 0 units on the jacket's variations, 20 on the tote, 12 on the mug. Regular and sale prices are the same on every variation and every simple product.
The two other routes hand you the store's data in the store's own shape, and the conversion is yours. ScrapeWoo writes the file the destination reads. That is useful with a login too: the built-in exporter writes WooCommerce's CSV, and ScrapeWoo writes Shopify's.
The files hold the catalog the store publishes. On ours, that was the jacket, the beanie, the tote, the mug and the gift wrap. The dashboard marks the gift wrap as hidden from the catalog, but it is published and has a public address. For the private product and the draft, the store answered an anonymous request with "Invalid product ID.", and costs, purchase notes and custom fields were not in the public data. Those come out through the two routes above.
Stock quantities are in the files when the store publishes them, as ours did: 12 for the mug. Where a store publishes only that a product is available, as ours did for the beanie, the files carry the availability. To try it on a store, paste its address into ScrapeWoo: the detected products are listed before you export anything.
Field by field: what each route returned
The table takes a product's data one item at a time. For each, it shows what the three routes returned from the same store:
| Data | Built-in exporter | REST API with a key | ScrapeWoo, from the public catalog |
|---|---|---|---|
| Name, SKU, descriptions, categories, tags, attributes | Yes | Yes | Yes |
| Regular and sale price | Yes | Yes | Yes |
| Weight | Yes, with the unit in the column name | Yes | Yes, the figure the store publishes; the Shopify CSV leaves weight for you to enter in grams |
| Variations | One row each, tied to the parent by its SKU | One more request per variable product | One row each, tied to the parent by its SKU; nested in the JSON |
| Images | Addresses in the store's media library | Addresses, with an alt text field | Addresses of the published images |
| Stock | Status and quantity | Status and quantity | Status, and the quantity when the store publishes it |
| Low stock amount, purchase note, cost | Yes | Yes | Not public |
| Custom fields | With the custom meta box checked | Yes | Not public |
| Draft and private products | Yes, coded in Published |
Yes, with their status | Not public |
| Product hidden from the catalog | Yes, marked hidden |
Yes, marked hidden |
Included; that setting is not public, so set the product to hidden again after import |
| Creation date, sales count | No | Yes | Not public |
When access does not settle the choice
Access narrows the options, and the place the products are going picks among the ones left.
If you own the store and are moving to Shopify, the built-in export is a WooCommerce file that still has to become a Shopify one. ScrapeWoo writes the Shopify CSV from your published catalog. The guide to migrating WooCommerce products to Shopify with a CSV covers the import side.
For a copy of your own catalog to keep, or to edit in bulk and import back, use the built-in exporter with custom meta checked. Its file carries drafts, product IDs and back-office fields in the columns WooCommerce's importer reads back.
Keys with nobody to write the program do not produce a file. When the products you need are published, the public route gives you one without code.
When the store is not yours to sign in to, start from its address. That is the case when a client has not sent access yet, or when a supplier has agreed to let you list their products and has no export to send. Extracting WooCommerce products without admin access walks through a full run.
And when another system needs the catalog every day, that is the REST API's job, with a Read key.
To start from an address, paste it into ScrapeWoo and review the detected products before you export anything. If you are unsure which of the four files to take, the export format comparison sets them side by side. For a WooCommerce destination, the guide to importing variable products from a CSV shows what the file does once imported.